NODA’s Notifications
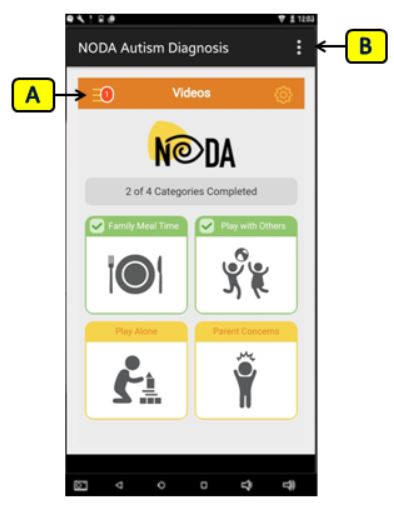
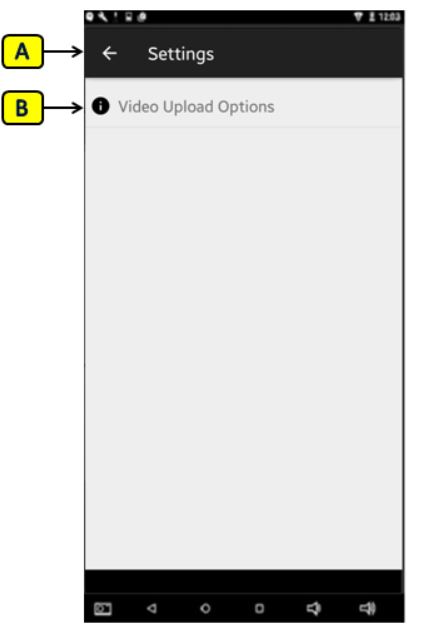
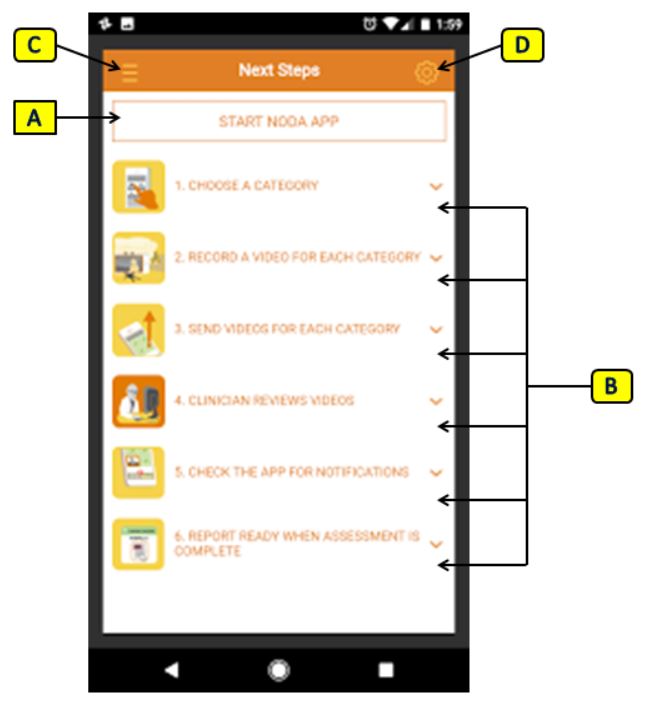
Noda App Page
A. Menu Button: Slides open the menu bar.
- (!): New notification is available.
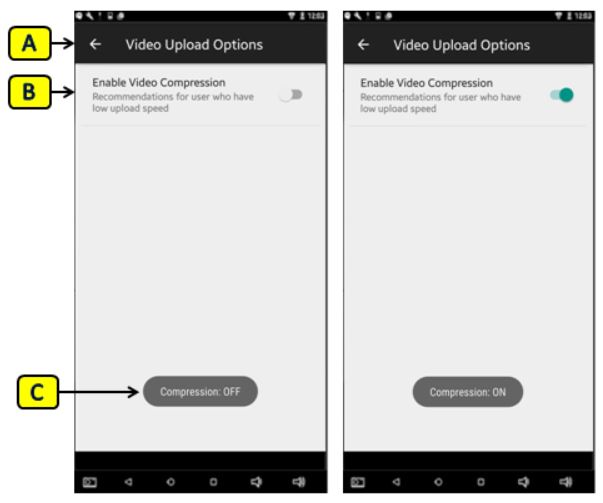
B. Settings Button: Gives access to compression settings.
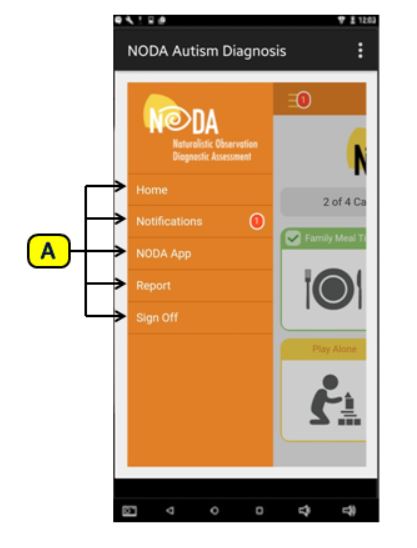
NODA Menu
A. List of Menu Items:
- Home: Takes user to home page.
- Notifications: Shows user all notifications.
- (!): Unread notifications.
- NODA App: Takes user to NODA App page.
- Report: Allows user to download Report PDF.
- Sign Off: Signs user out of the NODA application.
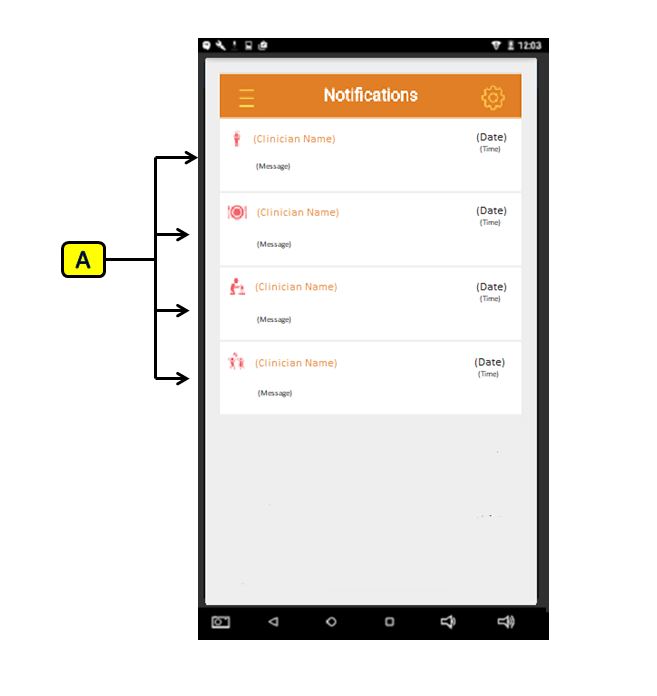
Notification
A. List of messages from clinician to user:
- Name of the clinician who sent the message.
- Date and time of message sent.
- Message from clinician.
The image next to the notification shows what section the message is about.
Parent Concerns![]() Family Meal Time
Family Meal Time ![]() Play Alone
Play Alone![]() Play with Others
Play with Others![]()