Adding a Role to a User

At any point in time, an Admin or a Group System Admin has the option of adding another role to an existing user.
Doing this will allow users access to new information and gain permissions that they did not have before.

Admins have the ability to add roles to Admins, Group System Admins, Group Admins, and Users.
Group System Admins can add roles to Group System Admins, Group Admins, and Users.

12

— To add a role to a user, an Admin or a Group System Admin must access their System Admin.
– After finding the user they’d like to edit, they can click on the pencil icon in the last column associated to that profile.
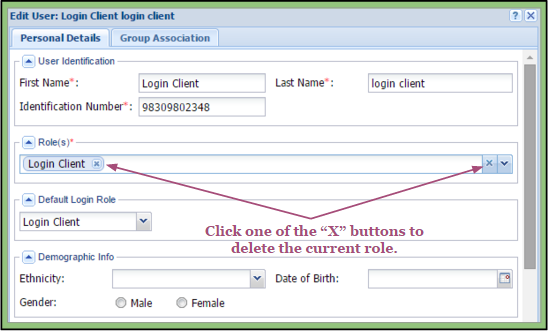
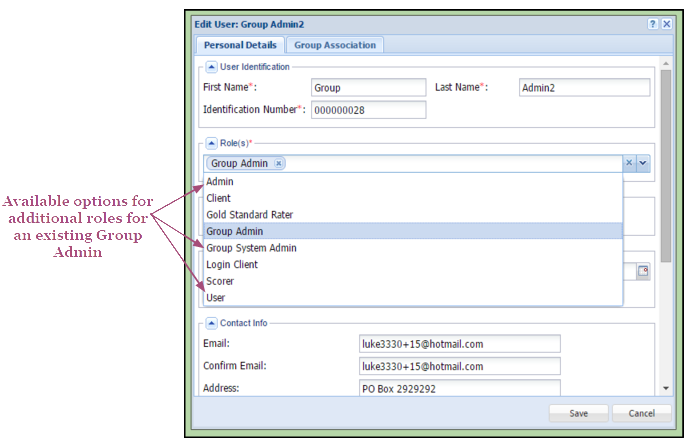
– Once the “Edit User” window has opened, they can go to the section listed as Role(s). Using the drop-down menu next to their current role will give options of adding another role to that user.
– The Admin or Group System Admin can then choose which one(s) they would like to add.

Note:
Gold Standard Raters, Scorers, Login Clients, and Clients cannot have more than one role.


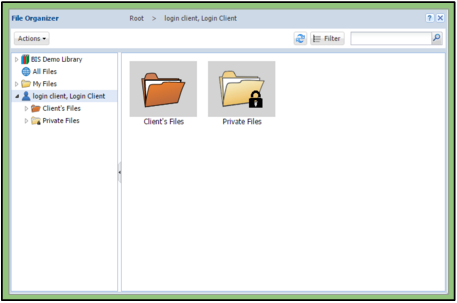
By adding a new role for a user, they will now have to have two (or more) Group Associations.

– The Admin or Group System Admin must go to the second tab of the “Edit User” window and associate their user with a specific level depending on their new role.
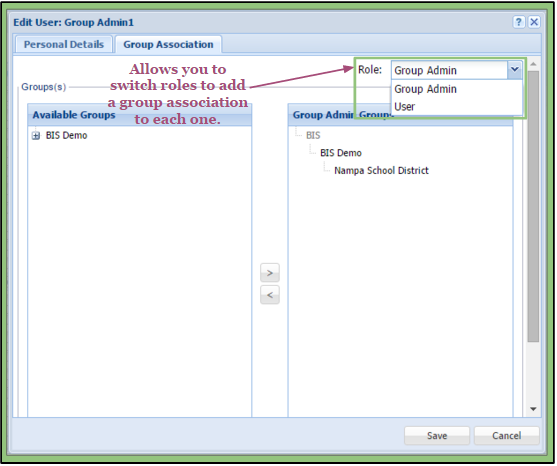
— To switch from one role’s Group Associations to another within the same user, the Admin or Group System Admin can go to the upper right hand corner of the tab and click on the drop-down menu next to the word “Role”. An image has been provided below to show its locality.
— The drop-down menu will have a list of the roles that the user now has. Selecting one will show the Group Associations of that role.
— Following the How to Add a User article’s instructions regarding required Group Associations, the Admin or Group System Admin will add the new association for the new role of the existing user.

15

Note:
Adding new Group Associations to the new role will not affect the other role or their Group Associations.

Changing a Role of a User

At any point in time, an Admin or a Group System Admin has the option of changing a role of a user.

Admins have the ability to change a user from any role to any new role.
Group System Admins may change a user in their system to any role other than Admin.

— To do this, an Admin or a Group System Admin must access their System Admin.
– After finding the user they’d like to edit, they can click on the pencil icon in the last column associated to that profile.
– Once the “Edit User” window has opened, they can go to the section listed as Role(s). Using the “X” next to their current role will delete it.
– The Admin or Group System Admin can then choose a new role for their user.

2

*Friendly Reminder: Admins and Group System Admins should make sure that their user is now assigned correctly in their Group Associations according to their new role.
The How to Add a User article shows the required group associations of each role.

Notes:
Changing a Login Client to a Client: The Login Client’s “Client’s Files” and “Private Files” folders will move into the Client’s portfolio with all of its contents.
*Friendly Reminder: Clients’ portfolios are private and only accessible with permission from the Admin.
Changing a Client to a Login Client: All contents of the Client will move into the “Private Files” folder of the Login Client’s portfolio.
*Friendly Reminder: The Login Client’s portfolio has a “Private Files” folder that is only accessible to users who have permission from the Admin. The “Client’s Files” folder is accessible to users and that particular client to review.

4

Support Query

The Support Query is a direct line to the support team. You can ask questions or mention a problem that you are having.


Screen Shot 2017-03-08 at 10.41.37 PM1. Contact Email:
This will be copied from your account.  This can be edited if you want to use another email to communicate with.

2. Question / Issue Description:
Type in your question or issue here.
– Questions:
+ Please use specifications in your question so that we may better understand them.
– Issues:
+ Please describe your issue with as much detail as possible.
+ Include the steps that you took that created the issue.

3. Send Button:
Hit the Send button when you are ready to send the issue or question you have for the support team.

Please allow up to 24 hours for a Support Technician to respond by e-mail.