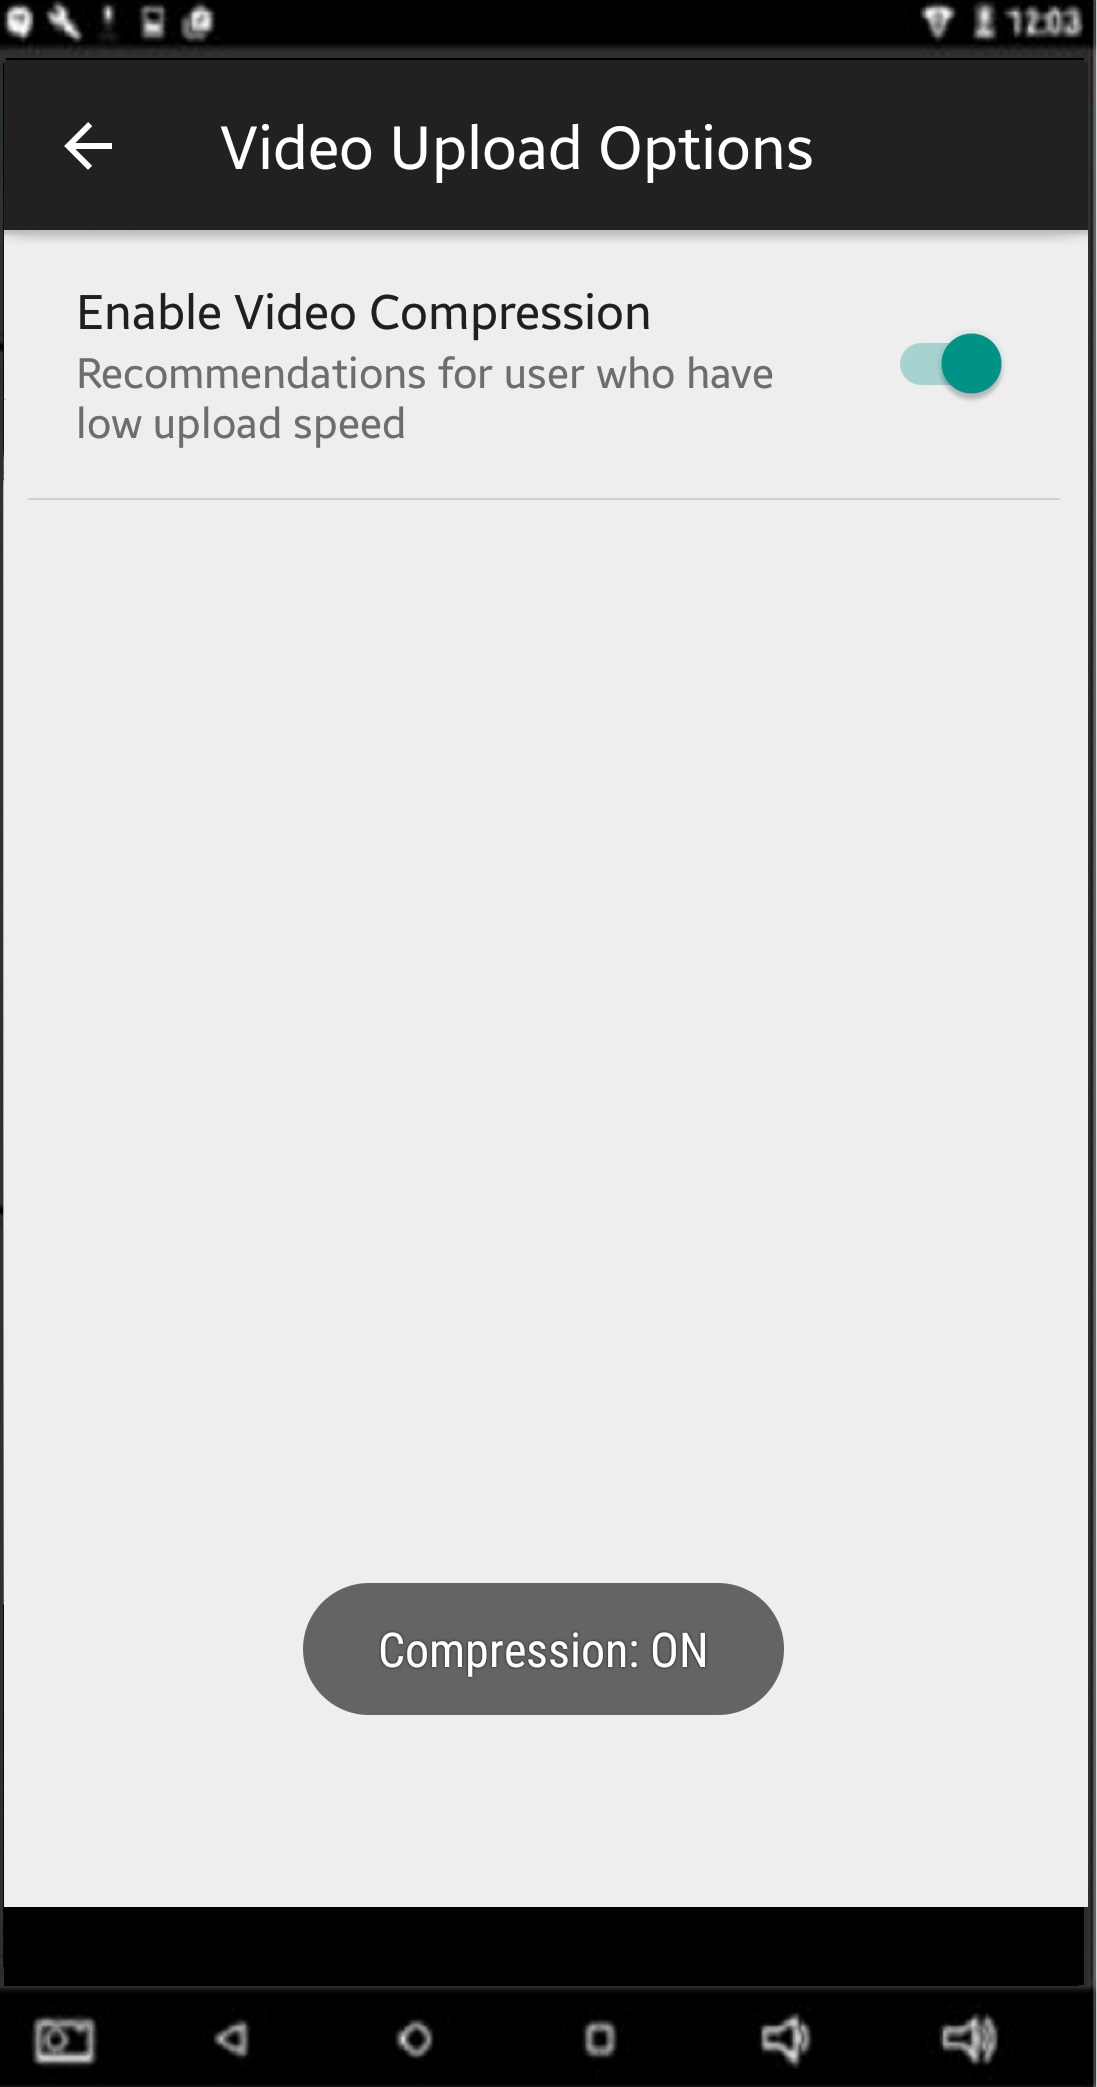
NODA Video Compression (Android)


Video compression toggle- Is a switch when active will compresses video file before uploading to NODA servers

  • This is helpful for user trying to upload a larger file that have a slower upload speed
  • Settings are saved.  So even after exiting the application when you reenter the NODA application it will be set to you previous Video Compression setting

Note: This feature is currently only supported on Android devices


-For step by step instruction to toggle your Video Compression visit NODA How To’s section

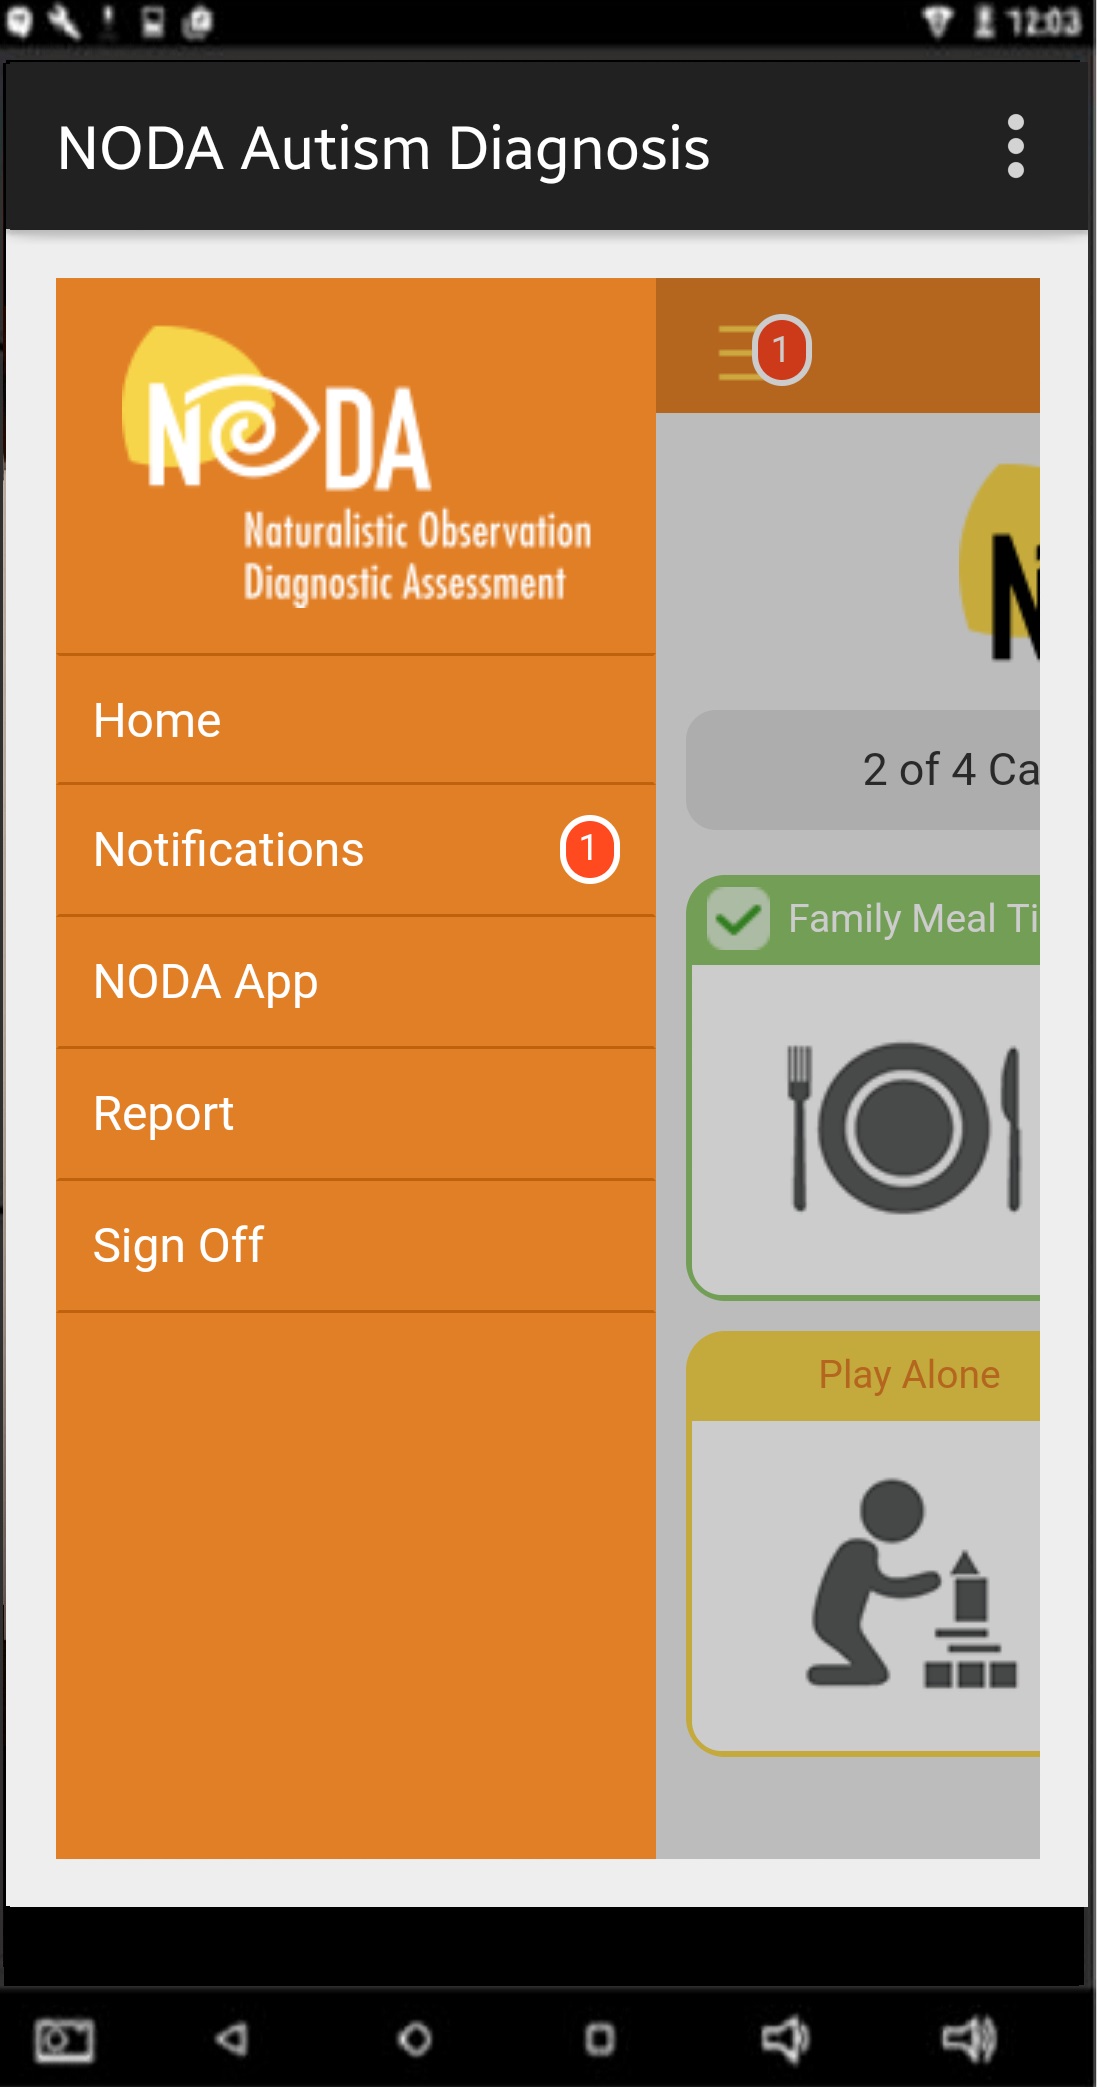
NODA’s Notifications

Users can receive notifications/messages from their clinician within the NODA application.
Depending on the type of notification, the user will be able to respond to their clinician.
Notifications will display an image to show which category clinician is referring to.


For step by step instructions on how to access notifications, please visit our NODA How To’s section.

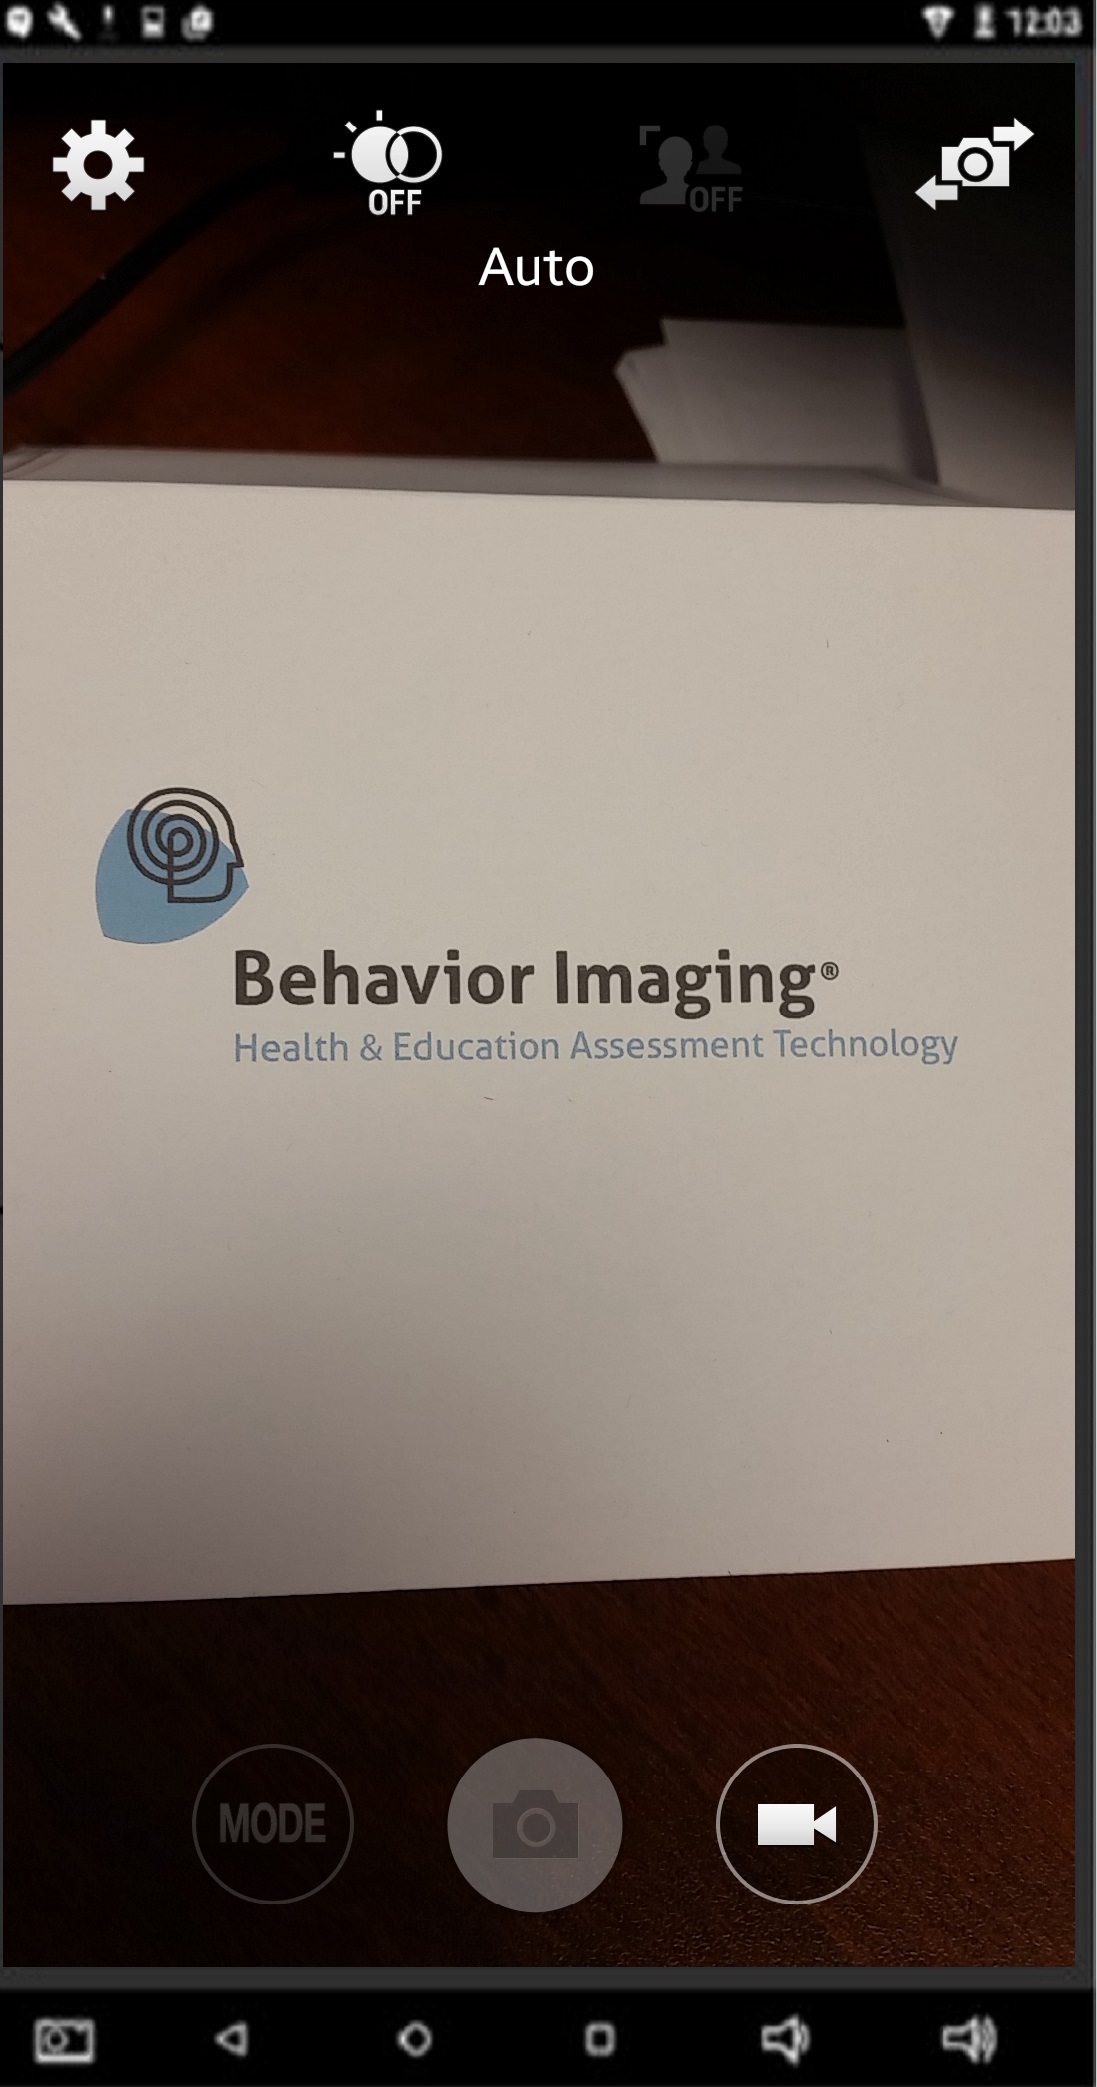
NODA’s Video Recording

The NODA app gives the user ability to record video and audio within the application.

Videos can be paused and then restarted for recording.

Video will automatically stop recording at 10 minutes (the video length limit).


For step by step instructions on how to record a video in NODA, please visit our NODA’s How To’s section.

NODA Frequently Asked Questions

Q:  I’m having trouble uploading with my mobile device. It keeps erroring out. What should I do?

A: This could be because of numerous reasons. Make sure your device is connected to a stable internet and that it has enough open storage. Do not navigate away from the app while you are uploading.

If you are trying to upload from a third party service like Google Drive, Dropbox, etc., try downloading the video file to your device’s library first. Then try uploading the file from the library on the NODA app.

If you are having too much trouble on your mobile device try moving your video file to the computer and uploading it to NODA.behaviorimaging.com .

Our support team at email, noda@54.162.200.67, will be happy to walk you through these steps and investigate any issue you have. Make sure you email them as much information as you can so they can solve your issue efficiently such as:

  • What type of device you have
  • What is happening and what error message (if any) is showing
  • What method of uploading are you using? Are you using a third part app or are you uploading straight from the library?

Q:  Can I use the same email for multiple accounts?

A: No, an email can only be connected to one NODA account.


Q: I can’t log in. It says “Credentials are locked by another user”

A: The system doesn’t allow two users to use the same login at once. This will also happen when someone doesn’t manually log out and closes the window. Wait 10 minutes for the system to log you out automatically and you will be able to log back in.


Q: Why does it takes a long time to upload a video in the app?

A: When uploading videos the file size and network speed determine how fast your upload will be.

NOTE: To see how fast your upload should take here is a great reference site:

http://www.meridianoutpost.com/resources/etools/calculators/calculator-file-download-time.php


Q: I have a fast download speed why does it take so long to upload a video?

A: Download and uploading are different, when you perform a speed test on your network they will give you a download speed and an upload speed.

Downloading is how fast you pull information from a server to your local device.

Uploading is how fast you put information from your local device to a server.


Q: How long of a video should I upload?

A: Depends on the situation, as long as you feel it captures the behavior and is under 10 min in length

(Note: you can only upload 1 video per section except for the parents concerns section. In the parents concerns section you can upload up to 4 videos but the total length of videos has to be 10 minutes or under)


Q: After I uploaded a video there is a red ! in that section. What does that mean?

A: Either your video is over 10 minutes or there was an error in your upload. If you click on the section it will give more information on the error.


Q: What is the Organization Code that is requested when I register for NODA?

A: The Organization Code is a specific case-sensitive code that links your account to a specific clinic for a diagnosis. If you don’t have an Organization code please fill out the forum to find what clinics are available in your area here: https://www.nodaautismdiagnosis.com/contact-us


Q: Do I have to record my videos in the NODA application?

A: No,  You don’t need to use NODA to record the videos, as long as the video is in your device library NODA can upload it.

 

NODA: Submitting Videos to Clinicians

NODA Interface

A. Upload Sections: Where videos are uploaded for clinicians to see.

Green: Shows that a file has been uploaded in a certain section.
Yellow: Shows no file has been uploaded in that peculiar section yet.

  • Family Meal Time
  • Play with Others
  • Play Alone
  • Parent Concerns

B. Progress: Shows how many sections have been completed. Example: (2 of 4)


NODA Submitting Videos

A. Progress: Shows how many sections have been completed.  Example: (4 of 4)

B. Submit: Sends videos to user’s clinician.

Note:
– Submit button won’t appear until all sections are completed (4 of 4)
– Once videos are submitted, the user can’t upload more files or delete files from the sections.


Logging into the NODA App

Login Screen

This is the first screen that will be displayed after launching the NODA application on your mobile device.

A. Email/Login: This is a text field the user will put in there email used for login ID.

B. Password: This is a text field the user will put the password to login into the application.

C. Login: Button when pressed will check Email and Password and then login into NODA if information is correct.

D. Forgot Username/Password: Will take user through process to retrieve username or password.

E. Sign up: Will take user through process of setting up account with the NODA application.


Home Screen

Once logged in, you will be taken to the Home screen.

A. Start NODA APP: This is a button once pressed will take user into app where they can record and upload videos for clinicians

B. User Guide: When any section is selected will provide a drop down of information for the user to better understand the process of the NODA application.

C. Menu: Menu to navigate to different section of the application

  • Home: This is the screen you see to the right
  • Notifications: These are message/notification user receive from clinicians
  • NODA App: Where videos are record and uploaded to clinicians
  • Report: Clinicians report that are sent to user
  • Sign OFF: Signs out of application

D. Settings: options to change user information

  • Email/Login
  • Password
  • Phone Number

NODA: Uploading Files

NODA’s Upload Section

A screen displayed after selecting one of the four sections:

  • Family Meal Time
  • Play with Others
  • Play Alone
  • Parent Concerns

A. Tutorial Video: Video to help educate users on how to upload/record video

B. Upload Button: Once pressed, the user can select a file to upload.

Options on uploading:

  • From Library
  • Recording new video to be uploaded

Note: Only supports videos up to 10 minutes in length


Video (Optional) Description

After selecting a file to upload the application will bring you to this page.

A. Video Description Text Box: This is optional. User can type in information they can provide to the clinician regarding the video.

B. SAVE Button: Saves the text.

Note: The “SAVE” button will have to be pressed to continue, even if there were no changes made.


After Video is uploaded

After video is uploaded to section, the section will display thumbnail of video uploaded.

A. Video Thumbnail: After video is uploaded, it will display a thumbnail of the video and the duration of the video.


Review Uploaded Video


If thumbnail is selected after uploaded, this page will display to user:

A.  Replay: Plays the video that was uploaded.

B. Video Description Text Box: Can edit or add new text description.

C.  Remove Video Button: Removes the video.

D. SAVE Button: Save changes.

Note: “SAVE” button will have to be pressed to continue, even if there were no changes made.

Uploading Files

There are three methods for uploading files and artifacts:

1. Electronic Uploader
– The Electronic Uploader allows a user to upload files and artifacts already available on the user’s computer. Click here for directions on how to use this feature.

2. Fax Uploader
– The Fax Uploader allows a user to upload documents that they have physically on their persons and want to add to their library on the system. Click here for directions on how to use this feature.

3. Behavior Capture™
– This method is available in the Apple App Store. The Behavior Capture™ App is a versatile recording and uploading tool. A user can securely capture events from back in time and in-the-moment behaviors and upload to their Behavior Connect™ account. Bluetooth remote controls also provide flexibility in recording.